Japan – the land of anime, as my nephew calls it. But of course it’s so much more than anime. Did we spend a good day or two on the hunt for Dandadan and Frieren figures in Akihabara? Absolutely. Did we also try to visit every single shrine and temple for goshuin stamps and learn the history everywhere we went? 100%! Because you know what? Life is about balance. Balancing your love of anime and your love of history. And Japan offers the perfect blend of both peak pop culture and deep, rich history.
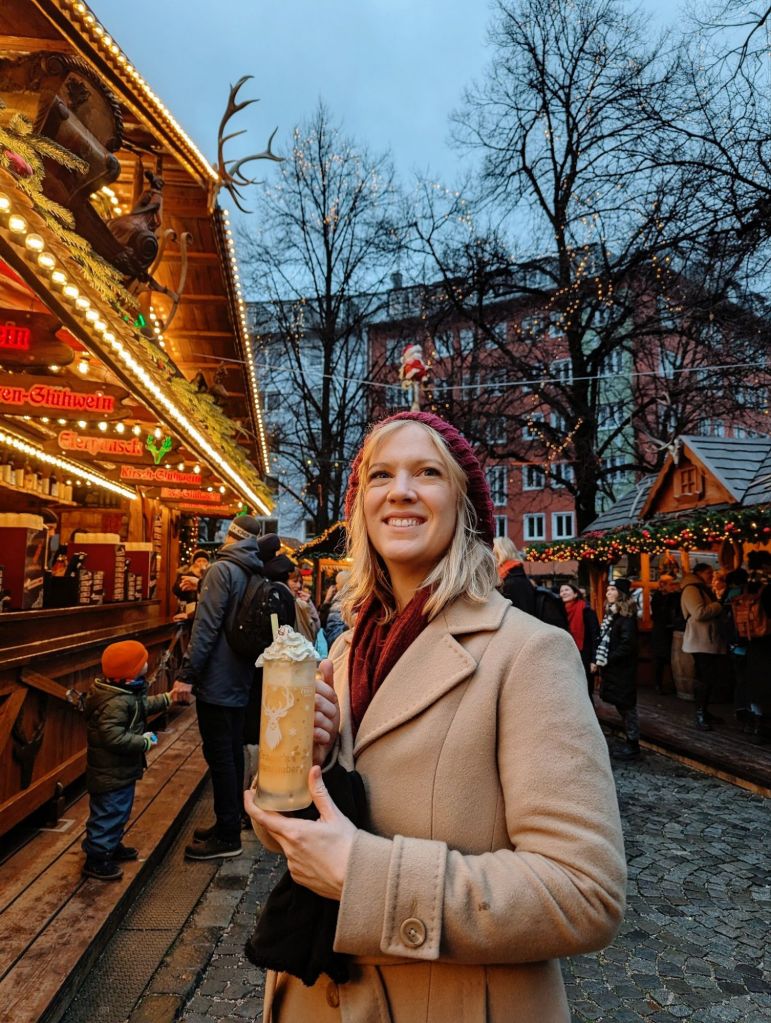
And what better way to cap off a trip to Japan than with a quick airplane ride and a few days in Seoul, South Korea?! As a K-drama fan, my sappy little heart exploded with the chance to drink soju from a tent bar or walk along the walls in Namsan Park like I’ve seen a million times in all those cheesy TV shows I’ve become shamelessly obsessed with.

And now I get to share what we did with you! So whether you’re a history buff, an anime nerd, a K-drama lover, a mix of all 3 or something else, you know how to make the most of your Japan and South Korea trip!
Full disclosure, this was actually my third time visiting Japan. My brother has lived there for 20 years, so I’ve been lucky enough to travel there twice before – once just to visit and once for his wedding. However, this is the first time I’ve planned the trip around what I want to go and see, rather than just letting my brother lead us around. So while this itinerary will share the high-level itinerary for this particular trip, be sure to check back for blog posts coming soon that will cover all the things I’d recommend in Japan based on my time there between this time and previous trips, as well as my recommendations in Seoul!
With that disclosure out of the way, let’s dive into what we did and how we did it, so you can start planning your own Japan and South Korea adventure!
At a Glance – High Level Itinerary
Tokyo – 5 nights/4 days
Shibu Onsen – 1 night/1 day
Shima Onsen – 1 night/1 day
Okazaki (with family) – 4 nights/3 days
Kyoto – 2 nights/2 days
Osaka – 1 night/1 day
Seoul – 3 nights/3 days
Total Time w/ Flights: 19 days
General Tips & What We’d Do Differently
Itinerary Suggestions – The three main places people go are Tokyo, Kyoto, and Osaka. If this is your first time to Japan, I’d suggest sticking to those with day trips out to places like Nara. They’re easy to travel between via the Shinkansen bullet train and easy to get around in speaking just English.


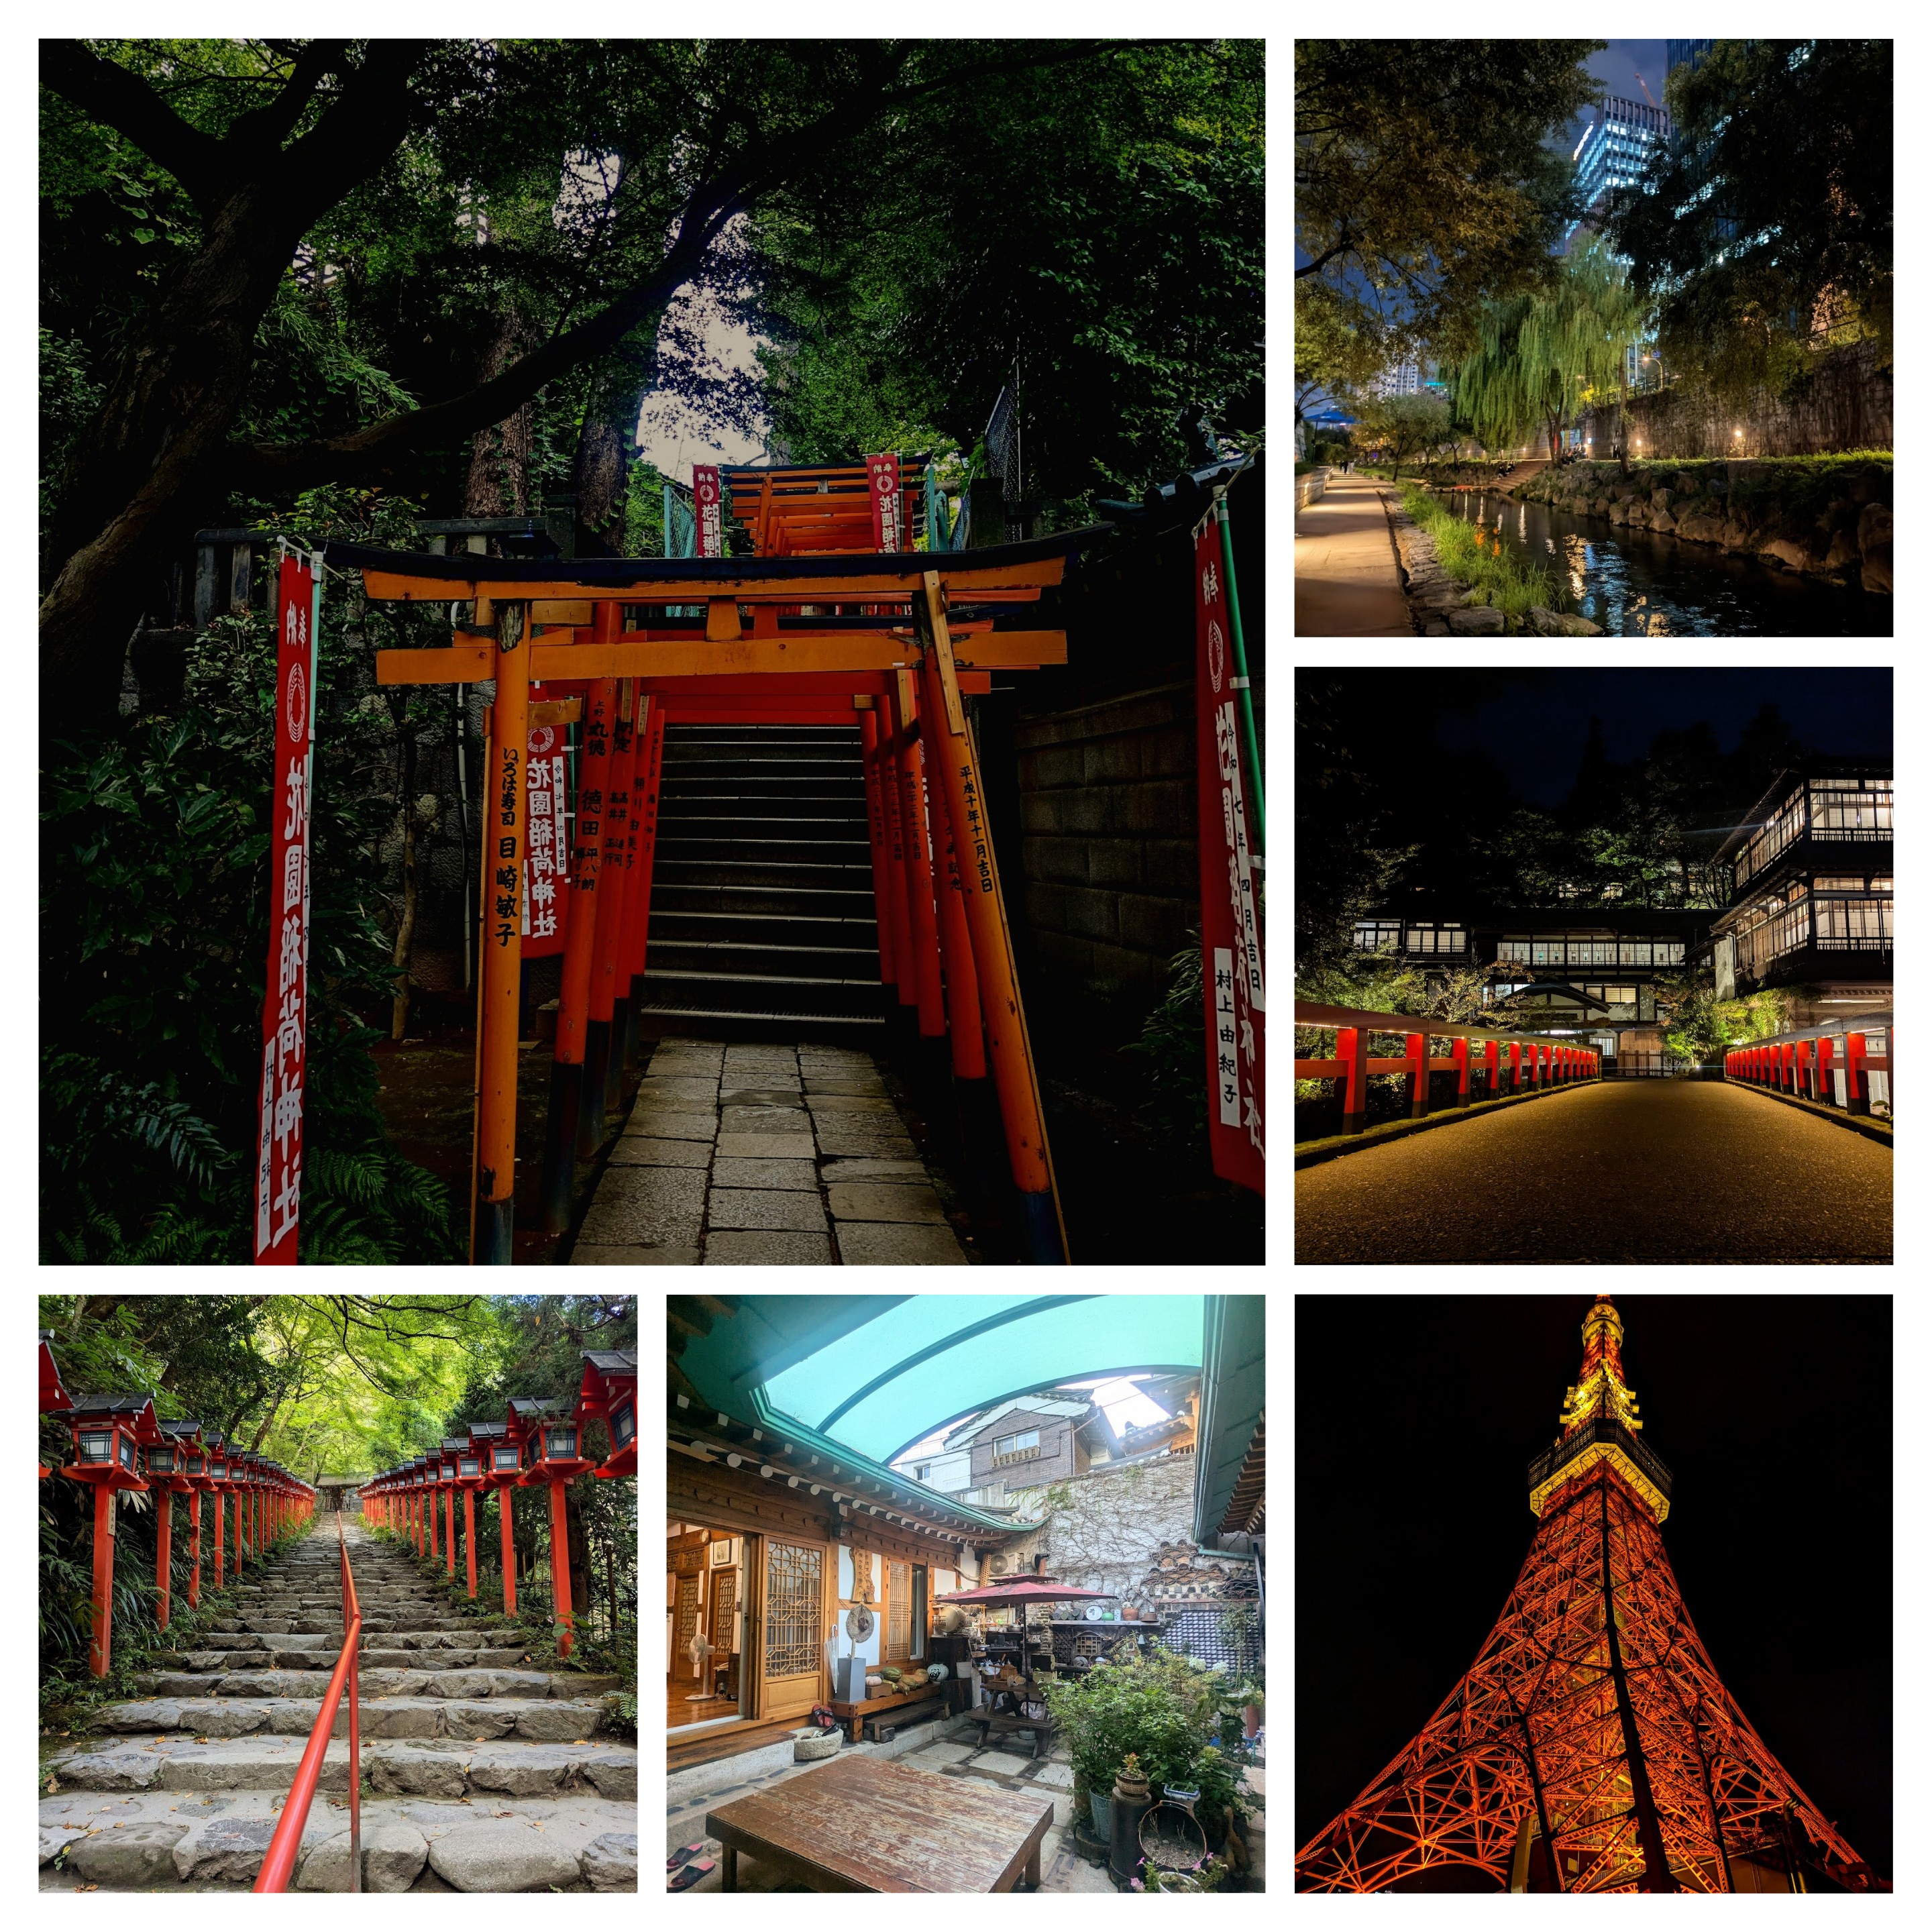
Some highlights from Tokyo, Kyoto, and Osaka – great for a first trip to Japan!
If this is your first time visiting Japan, or you’re not comfortable with navigating foreign transportation, I wouldn’t recommend Shima or Shibu onsens. While beautiful and certainly worth the visit and time to get there, it can be overwhelming if you’re not comfortable with ambiguity or confusion (although I hope my future blog posts about how to get from place to place may help with some of that ambiguity!).
I also would not recommend staying in Okazaki. We did simply because my brother lives there, but it does not offer anything really for tourists. So unless you have a specific reason to stop there (like you’re a fan of Toyota and want to see the plant or something), then I’d suggest taking the time we spent there and spreading it out between Tokyo, Nagoya, Kyoto, or Osaka.
I also wish we had more time in Seoul, but hey, we were working with the time off from work we had, and really trying to optimize that 14 hour flight to/from. That being said, we got a lot done in Seoul! However, if you’re wanting to just stick to Japan for your trip, you could explore different areas, like maybe Nikko or Hakone (both just a quick train ride from Tokyo).
Language Barriers – If you stick to the major cities (Tokyo, Kyoto, Osaka, Seoul), you’ll get by just fine in English. We found people spoke English where it was most helpful, such as when checking into hotels, and we could get by without it when it wasn’t as necessary, such as checking out at a convenience store. And most signs also were in both Japanese/Korean and English. However, as you venture further out from these major cities, English starts to become less common. So I highly suggest downloading the language in Google Translate or whatever translator app you have on your smartphone. The camera function, being able to hold it up to a sign and have it translate live, was a lifesaver as we got away from the main tourist areas!
Packing – I’m already a backpacker rather than a rolling suitcase person. I learned my lesson in Ireland, lugging a suitcase across cobblestone streets, up staircases, and in tiny elevators. Never again, I told myself. Until Japan. We knew we’d be bringing home lots of souvenirs (the yen being so weak made it practically a necessity), so we decided to bring a rolling suitcase this time. Still a carry on size, but still something that’s a pain to take up stairs! So while we needed it for all the stuff we ended up buying, next time I’m definitely going back to my regular backpack to avoid the frustrations of a roller bag!
Walking – Not everybody walks as much as us, but you WILL walk a lot. We averaged about 20 – 25 THOUSAND steps a day. So do yourself a favor and, if you’re not used to walking, start getting used to it before your trip. Go on a couple of walks throughout the day and, for the love of all things holy and unholy, get a pair of comfortable shoes and break them in first!
Mt. Fuji Viewing – If you want to make sure you see Mt. Fuji, leave some flexibility in your itinerary. It’s not called the shy mountain without a reason! It’s often coy, hiding behind the clouds, laughing at people like us who keep checking this website every day, hoping for a chance to sneak a peak. Each day we had set aside as a potential day to see it had cloud coverage, so we unfortunately weren’t able to make the trip out to see it. If I were doing it again, I’d make my time in Tokyo more flexible so we could hop on a train out to Chureito Pagoda if it turned out to be a good day for visibility.
Travel Cards
Japan
We got the Welcome Suica card, which was super handy! You can use this for many trains or buses (just look for the IC logo), but you can also use it at some vending machines and convenience stores! A few things to note about this card:
- The only way to add money to it with credit card is at the airport when you pick it up (at least when we went there, that was the case). We were able to put up to $100 on it on credit card. You can do this at Narita Airport at a little shop just outside of passport check, before you get on a train into Tokyo.
- If you need to add more money to it, you will need to do so with cash, but you can do it at most convenience stores or train stations, and it’s super easy/convenient!
- It’s only valid for 28 days, and funds expire after that point. So it’s very much a use it or lose it type situation. So if you get to the end of your trip and you still have money on it, stock up on snacks at Family Mart or Lawsons, or wherever takes the card!
- Not ALL trains or buses take the card. While it shouldn’t be any issue in the main cities, when you venture further out, it may not be accepted.
- If you have an iPhone, you can get this digitally on your Apple wallet. Alas, Android users like us are stuck with the physical card.
- If staying longer than 28 days, you can get a Standard Suica card, which requires a 500 yen deposit, but it’s valid for 10 years and you can get money returned if there’s anything left on it.
South Korea
Seoul had a similar card available in the airport, just outside of the passport control area as well. We used the WOWPASS, which worked similar to the Suica card in Japan. We saw the kiosk pretty quickly after passport control it Incheon Airport and paying with card. We used it for all of our transportation in Seoul, making paying fares super easy and convenient! You can also use it in stores, just like any credit or debit card. You can also get your money back from the WOWPASS at the end of your trip at WOWPASS machines, which you can find in many train stations and at the airport.
Best Time of Year to Travel – We were there in early to mid-October, and it was JUST starting to cool down by the time we left. It was solidly in the low 80s most days we were there, and add the heat from the cities on top of that, it wasn’t the most pleasant walking around weather. If you’re there to get in the water somewhere, it may be great. But for me, I prefer a nice 70 degrees, so it was just a little warm for my liking. I probably would have preferred November.
Summer is notoriously very hot in Japan, so unless you like the heat or want to do plenty of water activities, I’d probably avoid that! And spring can be very busy due to cherry blossom season, but it’s beautiful. One thing to keep in mind when going to Japan in the spring is to look for Golden Week – it’s a week where multiple holidays fall, so basically all of Japan is on vacation. This means things are closed, tourist attractions are crazy busy, and it’s just not an ideal time to travel.
Cell Phone Data – This obviously depends based on your cell phone plan. Check with your specific plan to see if you have international data worked in. If not, I HIGHLY recommend an eSIM. This is a way to get international data without having to get a physical SIM card when you get to the country, and they’re super easy and convenient to install. I use Saily, and paid $10.99 for 5 gigs of data, which was more than enough to get us through the time we were in Japan and South Korea!
Medications – Both Japan and South Korea have some pretty strict rules on bringing in medication, even if you’re prescribed it. Depending on what it is, you may even have to get prior approval to bring your personal dosage into the country. While we didn’t have to do this for Japan, we did for South Korea, so I recommend researching any prescriptions you take and what the requirements are before bringing them into the country. The last thing you want is to start your trip off apprehended, fined, and without your (presumably) much needed meds!
Japan – Check the Narcotics Control Department site to see what requires prior approval to bring into the country and, if your prescription requires approval, be sure to submit it with plenty of time. It will require the application, as well as a certificate from the doctor justifying the need for the medication, as well as copies of your prescriptions. These can all take time to get, so make sure you get working on this as soon as you know you’re traveling to Japan.
South Korea – South Korea seemed more strict than Japan as far as medications coming in, so where we didn’t have to go through the application process for Japan, we did for South Korea. And let me just say, that application comes with a learning curve. There were many things we weren’t 100% sure how to answer, and there was no information on the internet about it, so we just did a “best guess” sort of thing. But we did eventually get approved, so it wasn’t that bad. Here’s a detailed breakdown of what we did:
- Review the list of what drugs are controlled here to see if you need to submit an application to bring yours in. If you’re unsure, what’s allowed, you can email narcots@korea.kr.
- Get a letter from your doctor describing why you need the prescriptions and a list of the prescriptions, along with dosage.
- Get a copy of your actual prescription.
- Submit your application here. Again, this was tricky to navigate, so read everything carefully, Google it if you’re not sure, and email narcotics@korea.kr if you have any questions.
- Wait for your approval and print once received.
- At the airport, they were waiting for us after passport control to pull us to the side and review the application and medication. It was a very quick and easy process at the airport. Honestly, they kind of seemed surprised that we had such a small amount of the medication we brought in, kind of like “You did the application for this?!” But hey, better safe than sorry, right?
In general, it’s just good to know what the laws are around your medication if it’s potentially a controlled substance. And even if they don’t require an approval, I’d suggest having a letter from your doctor and your prescription printed on hand, just in case any questions come up on your arrival!
Other Helpful Information
For where we stayed in each place, check out this blog post.
Check back later to see my future posts about what we did, how we traveled place to place, and what we ate and drank!


Something went wrong. Please refresh the page and/or try again.


Leave a Reply